What is a Tevo Tarantula MOSFET Upgrade?
The Tevo Tarantula is a popular and affordable 3D printer, widely praised for its ease of assembly and modification potential. However, like many budget-friendly 3D printers, it has certain limitations. One of the most critical upgrades for the Tevo Tarantula is installing a MOSFET (Metal-Oxide-Semiconductor Field-Effect Transistor) upgrade. A MOSFET is essentially an electronic switch that controls the flow of current. In the context of a 3D printer, it’s used to manage the power supplied to the heated bed and the hotend. The stock Tevo Tarantula often routes the high current draw of these components directly through the mainboard. This can lead to overheating, damage, and even fire hazards. A MOSFET upgrade moves the high-current switching away from the mainboard, significantly improving safety and performance.
Why is a MOSFET Upgrade Necessary?
The necessity of a MOSFET upgrade stems from the design of the Tevo Tarantula and similar 3D printers. The heated bed and hotend require substantial electrical power to reach and maintain their operating temperatures. Without an upgrade, this power is often routed directly through the mainboard’s traces and connectors. These components, especially the traces, are not always designed to handle such high currents continuously. Over time, the heat generated can cause the traces to burn out, connectors to melt, and the mainboard to fail completely. This failure can lead to downtime, the need for costly replacements, and, in the worst-case scenario, pose a significant fire hazard. The MOSFET upgrade mitigates these risks by taking the high-current load off the mainboard.
Benefits of a Tevo Tarantula MOSFET Upgrade
Upgrading your Tevo Tarantula with a MOSFET offers a range of benefits, from improved safety to enhanced print quality. By understanding these advantages, you can make an informed decision about whether this upgrade is right for your 3D printing setup. The core benefit revolves around safeguarding your printer and your surroundings, while further benefits optimize the machine’s operation. Below are five key advantages of undertaking this upgrade to the Tevo Tarantula.
Enhanced Safety and Reliability
The most significant benefit of a MOSFET upgrade is improved safety. By relocating the high-current switching functions away from the mainboard, you drastically reduce the risk of overheating, short circuits, and potential fires. The MOSFET acts as a buffer, handling the power demands of the heated bed and hotend, thereby protecting the delicate electronics of the mainboard. This upgrade makes the printer more reliable and safer to operate, giving you peace of mind while printing, especially during unattended long prints. This increased safety also extends the lifespan of your 3D printer.
Reduced Strain on the Mainboard
The mainboard is the central control unit of your 3D printer. By offloading the high-current demands to the MOSFET, you significantly reduce the strain on the mainboard components. This helps prevent premature wear and tear, and minimizes the risk of failure. With the MOSFET handling the heavy lifting, the mainboard can operate more efficiently, focusing on its primary tasks such as interpreting G-code, controlling stepper motors, and managing communication with the user interface. This directly contributes to a more stable and durable 3D printing experience. Reducing the strain on the mainboard also indirectly benefits other components, as they are less likely to be affected by electrical issues stemming from mainboard malfunctions.
Improved Temperature Control
MOSFET upgrades often lead to more stable and precise temperature control for both the heated bed and the hotend. This improvement is achieved because the MOSFET provides a more direct and efficient power delivery system. With the high-current demands handled externally, the mainboard’s temperature control mechanisms can function more accurately. Consequently, you’ll experience more consistent bed and nozzle temperatures, which are critical for print quality. Stable temperatures minimize warping, improve layer adhesion, and help to reduce the chances of printing failures. This enhanced control is particularly noticeable during long prints, where temperature fluctuations can significantly affect the outcome of your 3D model.
Increased Lifespan of Components
By reducing the electrical stress on the mainboard, a MOSFET upgrade helps extend the lifespan of various components within your Tevo Tarantula. This includes the mainboard itself, connectors, and other sensitive electronic parts. The MOSFET acts as a barrier, protecting these components from the damaging effects of high currents and heat. Prolonging the life of these parts not only saves you money on replacements but also reduces the frequency of maintenance and repairs. A well-maintained and upgraded 3D printer is more likely to deliver consistent results and provide years of reliable service. This upgrade is a worthwhile investment to keep your printer running smoothly for longer.
Better Print Quality
While not a direct effect, the enhanced safety, improved temperature control, and reduced stress on the mainboard all contribute to better print quality. Consistent temperatures are critical for proper layer adhesion, preventing warping, and maintaining dimensional accuracy. By ensuring a stable power supply, the MOSFET upgrade indirectly supports these factors, allowing for more precise and reliable printing. This leads to fewer failed prints, a reduction in post-processing requirements, and an overall improvement in the quality of your final 3D-printed models. This upgrade supports your machine’s optimal function and improves the overall experience.
How to Install a Tevo Tarantula MOSFET Upgrade
Installing a MOSFET upgrade on your Tevo Tarantula is a relatively straightforward process, even for those with limited electronics experience. However, it’s essential to follow safety precautions and understand the basic wiring principles. The following steps provide a comprehensive guide to help you successfully install your MOSFET upgrade.
Gathering the Necessary Components
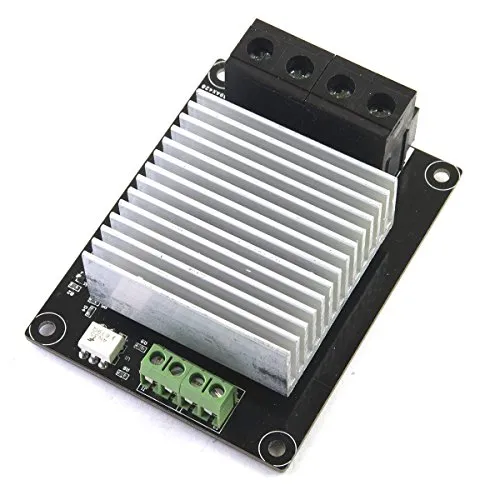
Before you begin, ensure you have all the required components. The primary components are the MOSFET module itself, which includes the MOSFET transistor, heat sink, and associated wiring. You’ll also need a power supply for your printer, screwdrivers, wire strippers, and possibly a multimeter for testing. Verify that you have the correct gauge wires suitable for the current demands of the heated bed and hotend. A soldering iron and solder may also be needed if your kit requires it. Having all these tools and parts ready will make the installation process much smoother and faster. Always double-check that your power supply is compatible with the MOSFET’s voltage and current ratings.
Step-by-Step Installation Guide
Begin by disconnecting the power supply from the printer to ensure your safety. Locate the existing wiring for the heated bed and hotend on the mainboard. Carefully disconnect these wires. Next, mount the MOSFET module to a suitable location on your 3D printer frame. This location should allow for adequate airflow to dissipate heat from the heat sink. Then, connect the wires from the mainboard to the input terminals of the MOSFET module. Typically, one wire will be from the mainboard’s heated bed or hotend output, and the other will be a ground wire. Secure these connections using the appropriate terminals or solder if necessary. Always double-check your wiring diagram.
Connecting the MOSFET to the Power Supply
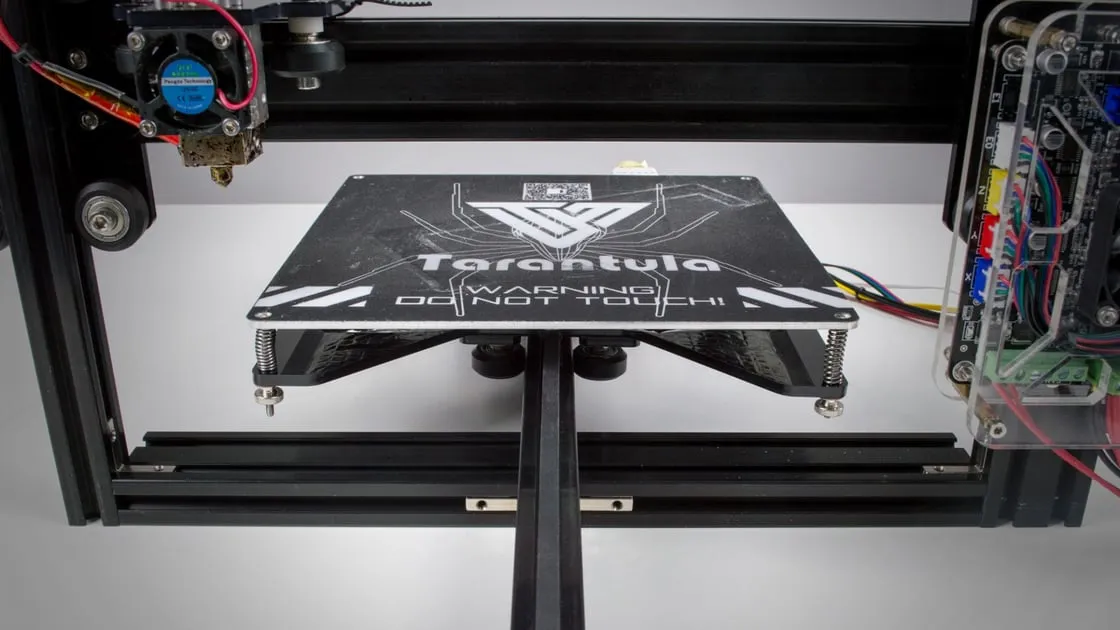
Now, connect the power supply to the MOSFET. This involves connecting the positive and negative wires from the power supply to the MOSFET’s output terminals. Ensure that you use appropriately sized wires for the current draw of the heated bed and hotend. It’s crucial to correctly identify the positive and negative terminals to prevent damage to the MOSFET or your printer. Most MOSFET modules will have clearly marked terminals, and it’s essential to follow the instructions included with your specific kit. Make sure these connections are secure and free from any loose strands that could cause a short circuit.
Connecting the Heated Bed and Hotend Wires
Once the MOSFET is connected to the power supply, connect the wires from the heated bed and hotend to the MOSFET’s output terminals. The heated bed and hotend wires, which previously connected to the mainboard, are now connected directly to the MOSFET. Ensure that these connections are secure and that the wires are properly insulated. Double-check your wiring to make sure the polarity is correct. It’s essential that the wires are securely fastened to prevent any risk of short circuits or disconnections during operation.
Testing and Troubleshooting Your Upgrade
After completing the wiring, it’s time to test your MOSFET upgrade. Before applying power, visually inspect all connections to make sure they are secure and that there are no exposed wires. Turn on your printer and preheat the heated bed and hotend to their operating temperatures. Monitor the temperatures to ensure they are reaching the set points and are holding steady. Check the MOSFET’s heat sink to ensure it is not overheating. If you experience any issues, carefully disconnect the power and re-examine your wiring. Common problems include incorrect wiring or loose connections. Using a multimeter to test for continuity and voltage can help pinpoint any issues. If you’re unsure about any step, consult the instructions that came with your specific MOSFET kit or seek assistance from a qualified technician.
